Cocktail Photography Lighting, A Working Guide
How the light on a cocktail actually gets built, from the first meter reading to the final highlight on the rim. A working photographer's guide, not a gear list.
Lighting a cocktail is not a gear problem. You can build a premium drink frame with one light and a few flags, and you can make a drink look cheap with ten thousand dollars of kit pointed the wrong way. What separates the two is a handful of decisions about where the light lives and what it does to glass, liquid, ice, and garnish. This is how those decisions get made on set, in the order they matter.
Start With the Light Source, Not the Fixture
Glass and liquid do not want a small, hard source. They want a large, controlled one. A cocktail lit with a big soft source, shaped down with flags, gives you long clean gradients on the glass and a bright edge you can place with intent. The specific light barely matters. A window, a big softbox, or a bounced source all get you there. What matters is size relative to the drink, which for a single cocktail means the source should read large and close.
Once the source is set, most of the work is subtraction. Flags and negative fill carve the light off the parts of the glass that should go dark, which is what gives a drink shape. A cocktail lit evenly from everywhere looks flat and lifeless. A cocktail lit from a controlled direction, with the shadow side allowed to fall off, looks like something you want to pick up.
Where the Key Light Should Live for Glass
For most drinks the key wants to be high and behind, roughly at the back edge of the glass, feathered forward. That position does two things at once. It rakes across the top of the liquid so the surface reads, and it lights the back of the glass so the drink glows through rather than reflecting off the front.
Front lighting is the most common mistake. A key placed near the camera fills the glass with a flat reflection of the source and kills the sense of liquid inside. Move that same light up and back, and the glass goes from a mirror to a lens.
Rim Lights Are the Difference Between Flat and Premium
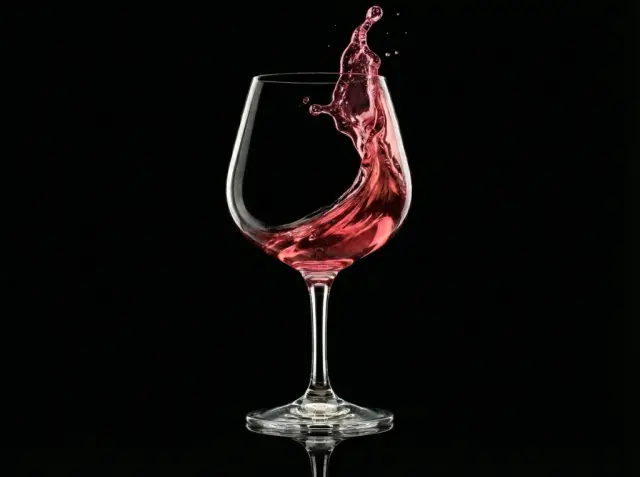
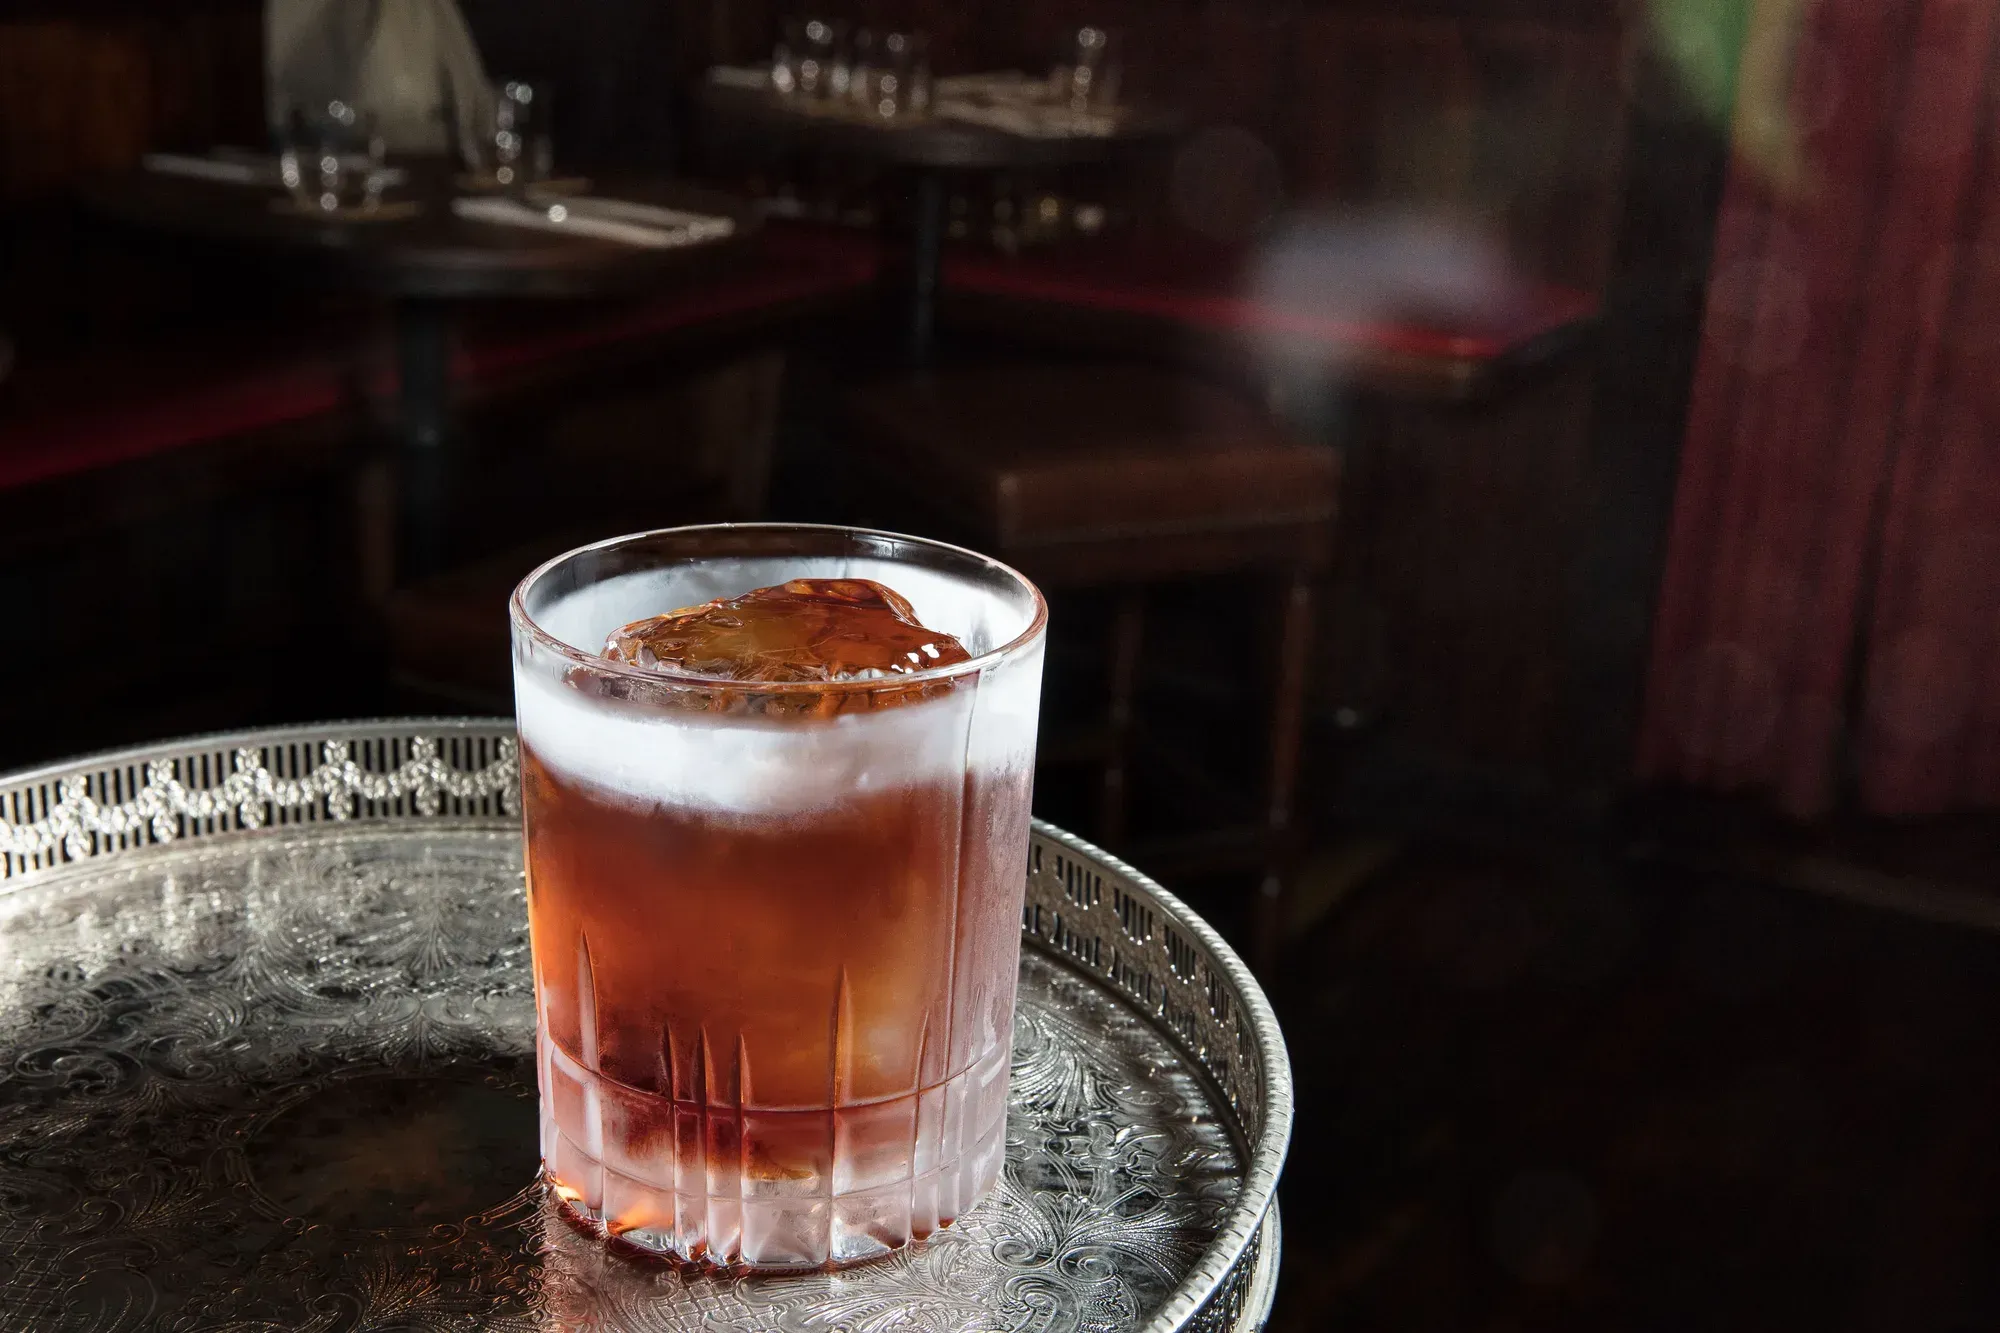
If one signal separates advertising-grade drink photography from everything else, it is the controlled highlight running down the edge of the glass. That rim is what gives glassware its shape and its expensive look. It is almost always a separate, shaped source, not a byproduct of the key.
The craft is in control. A rim that is too hot blows out and looks like a mistake. A rim that is too weak does nothing. The right rim is a clean, continuous line that traces the form of the glass and stops where you want it to. Getting there means a hard-edged source, carefully flagged, adjusted inch by inch until the line sits exactly on the glass edge and nowhere else.
Liquid Clarity Versus Opacity Changes Everything
A clear drink and a creamy drink are lit as if they were different subjects.
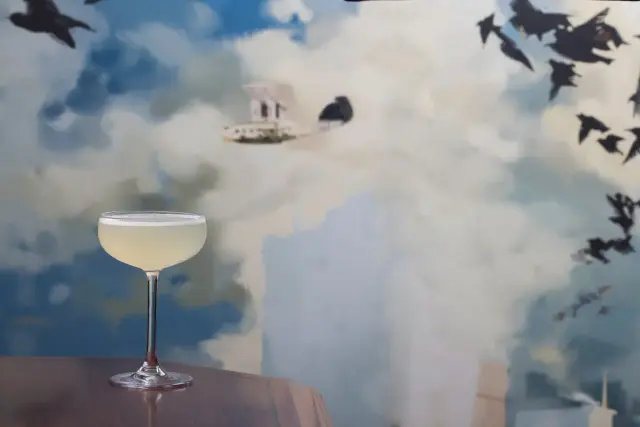
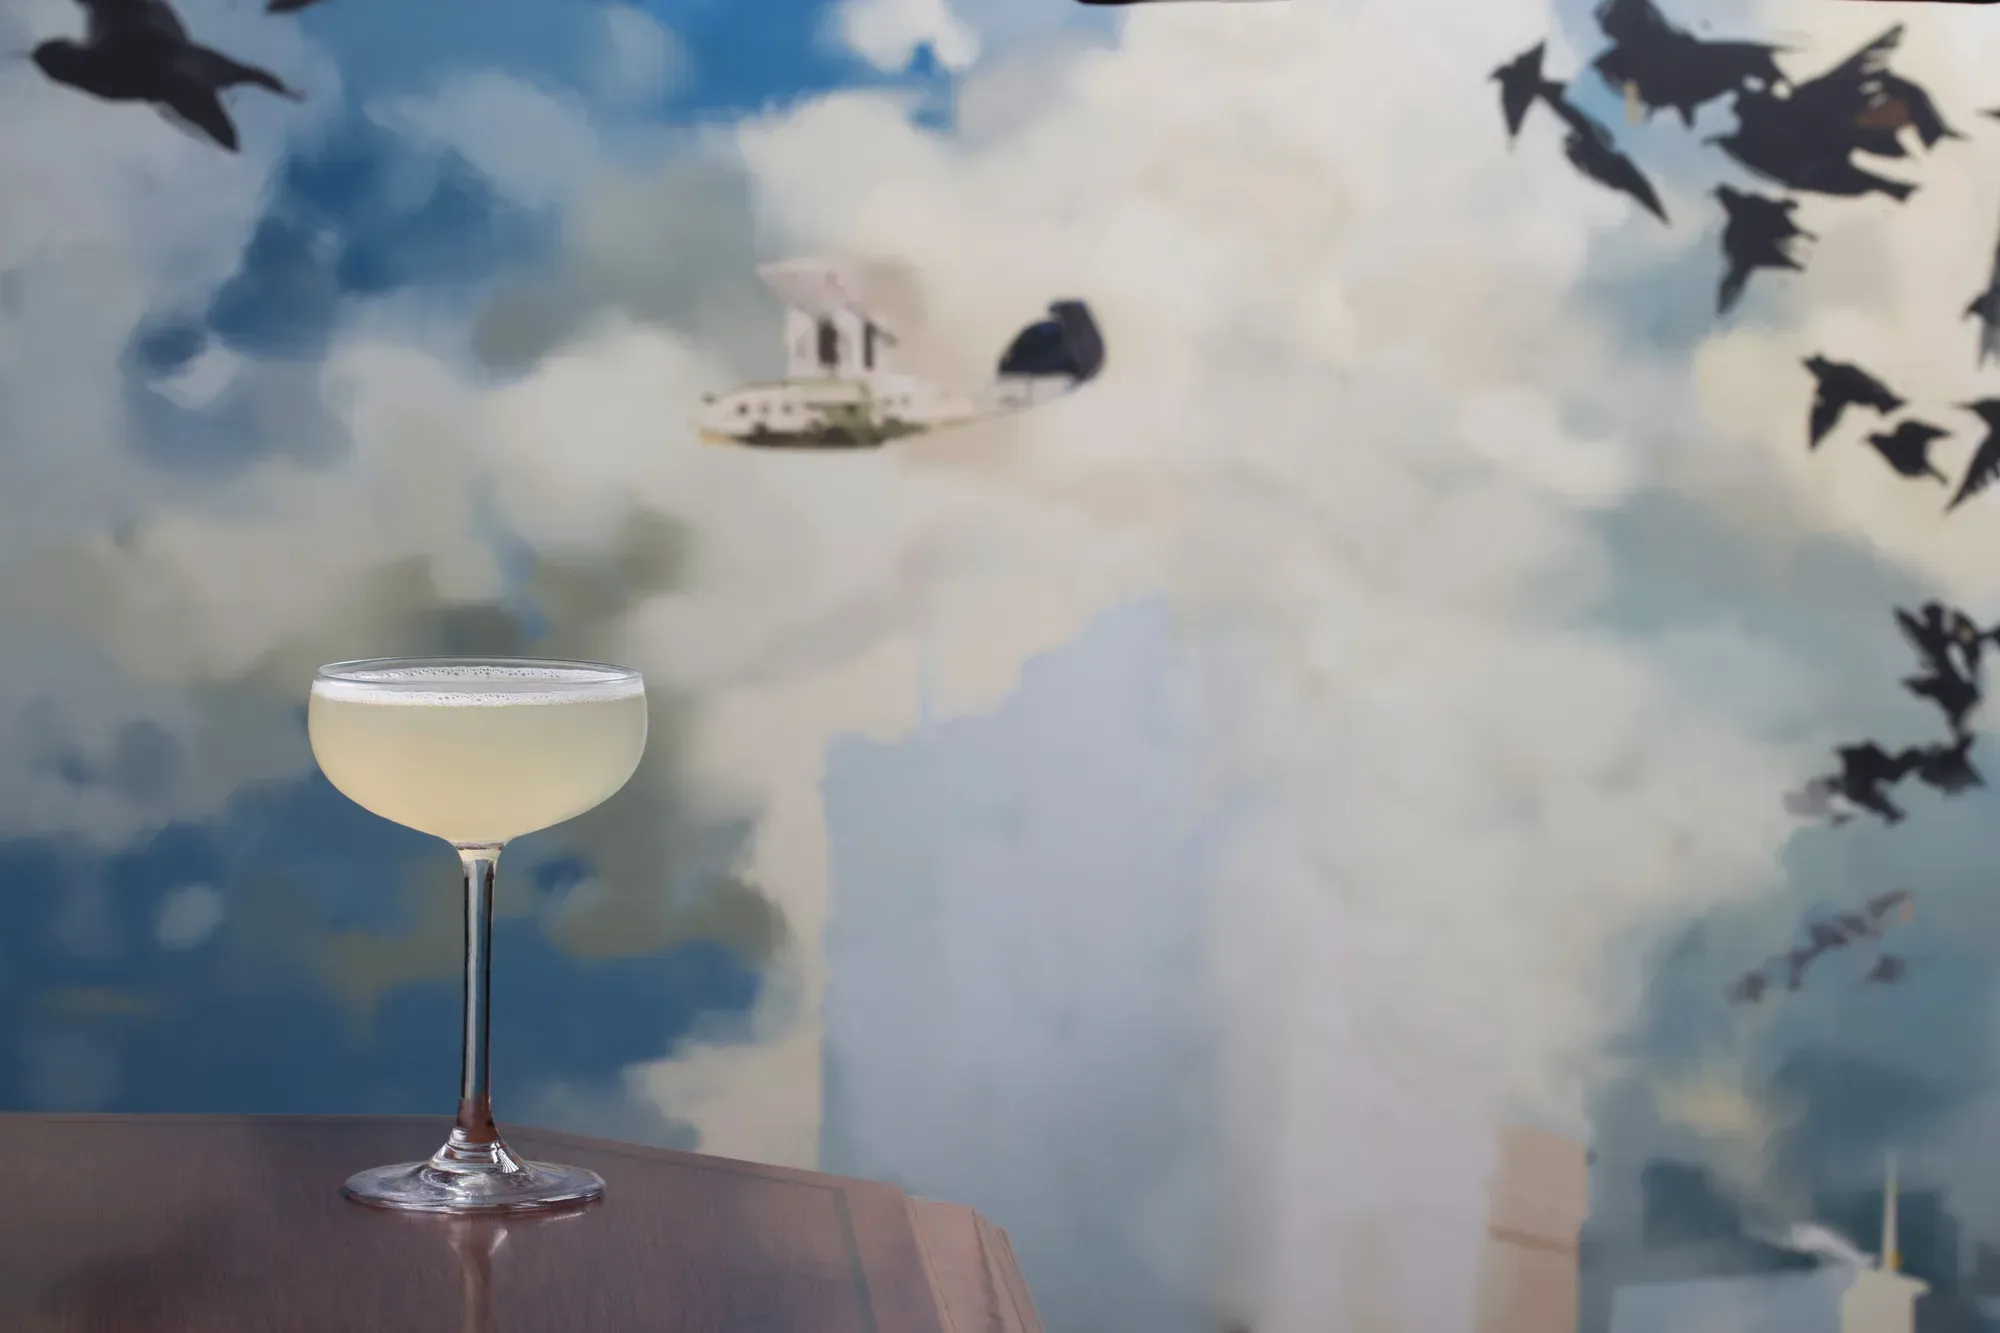
A clear cocktail, a gin martini or a highball, lives on backlight. Light coming through the liquid makes it glow, reveals color, and shows the bubbles and clarity that sell freshness. The camera reads through the drink, so the story is behind it.
An opaque drink, a flip, a colada, anything with dairy or a dense puree, does the opposite. Backlight dies in it. These drinks live on top light and a strong rim, because the story is the surface and the edge, not what is behind. Trying to light a creamy drink like a clear one leaves you with a muddy, dark frame. Recognizing which one you have before you set the key saves an hour.
Ice That Reads as Ice, Not a Plastic Prop
Ice is where a lot of drink photography quietly falls apart. Real ice melts under lights and goes cloudy, so productions reach for acrylic fakes, and lit carelessly those fakes look exactly like what they are.
The fix is treating ice as a light-bending object, not a solid. Ice wants edges and internal refraction, which come from a bright source placed to catch and pass through it, plus a dark surround for the edges to define against. Whether the cube is real or acrylic matters less than whether the light gives it internal life. A well-lit acrylic cube reads as ice. A badly lit real cube reads as plastic.
Garnish Without Blowing Out the Drink
Garnish is the last thing added and the first thing to ruin an exposure. A citrus twist, a mint sprig, or a sugar rim sits proud of the glass and catches far more light than the liquid, so it clips to white while the drink is still correctly exposed.
The answer is usually a small flag that pulls light off the garnish specifically, bringing it back into the same range as the drink. Sometimes it is a tiny bounce to lift a shadowed garnish instead. Either way it is a local adjustment made after the drink is lit, not a change to the whole setup. Garnish is a finishing move.
The Short Version
Good cocktail lighting is a sequence of small, deliberate decisions. Large soft source, then subtract. Key high and behind so the glass glows through. A clean, shaped rim for the premium edge. Backlight for clear drinks, top light for creamy ones. Ice lit for refraction. Garnish tamed at the end. None of it requires a big kit. All of it requires knowing what each choice does before you make it.
To see these choices in finished frames, browse the drinks portfolio, or get in touch to talk through the lighting for a specific shoot.
Tags
- Lighting
- Cocktail Photography
- Technique